Top Worm Composting Bins for Beginners
Key Takeaways
- Worm composting is an eco-friendly way to recycle kitchen scraps.
- There are various types of worm composting bins that cater to beginners.
- When selecting a worm bin, consider capacity, material, and ease of use.
Are you looking to start composting but don't know where to begin? Worm composting is a fun and effective way to recycle your kitchen scraps while producing rich compost for your garden. Here, we'll take a look at some of the best worm composting bins available for beginners, making it easier than ever to start your composting journey.
What is Worm Composting?
Worm composting, also known as vermicomposting, involves using specific species of worms to break down organic waste into nutrient-rich compost. This process is not only efficient but also helps in reducing landfill waste. Beginners often find it approachable since many worm composters are designed for ease of use.
Advantages of Worm Composting
- Quick and efficient waste processing
- Produces high-quality compost
- Minimal odor if managed properly
- Can be done indoors or outdoors
- Teaches valuable lessons about sustainability
Choosing the Right Worm Composter: Key Features
When selecting a worm composter, here are some important features to consider:
| Feature | Description |
|---|---|
| Capacity | Choose a bin that fits your expected waste volume. |
| Material | Look for durable, food-safe materials. |
| Design | Select a design that makes feeding worms easy and minimizes odor. |
| Assembly | Consider ease of setup and whether additional trays are available. |
Top Beginner-Friendly Worm Composting Bins
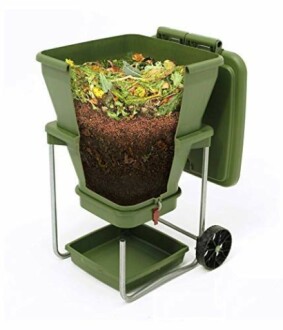
Worm Composter | Large Capacity Indoor or Outdoor Compost Bin
The Hungry Bin is a continuous flow-through worm composter designed to simplify composting effortlessly.
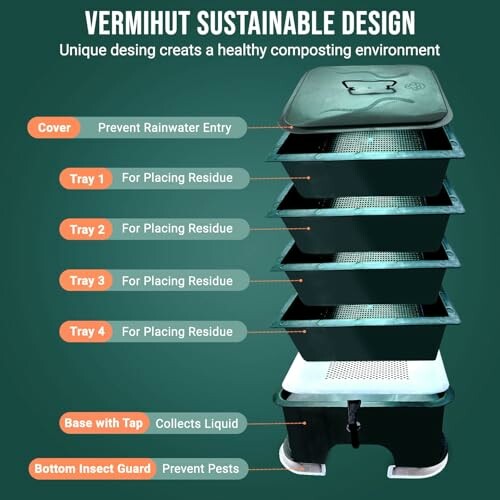
Learn MoreThe Original VermiHut Plus 5-Tray Worm Compost Bin
An advanced version with 5 trays, perfect for maximizing compost efficiency with added airflow.
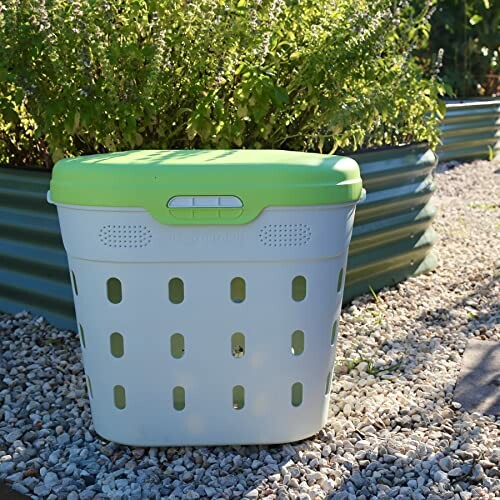
Learn MoreVego Garden In-Ground Worm Composter
This in-ground composter allows worms to efficiently turn organic waste into rich compost for your garden.
Learn MoreSetting Up Your Worm Composter
Setting up a worm composter is straightforward. Here are the basic steps:
- Choose a suitable location with moderate temperature.
- Prepare the worm bedding using shredded newspaper or cardboard.
- Add your worms and some food scraps to get started.
- Monitor the moisture level; it should be damp but not soggy.
- Harvest your compost regularly and enjoy the benefits for your garden.
Maintenance Tips for Your Worm Composter
Maintaining a worm composter is simple; here are some helpful tips:
- Check moisture levels regularly to avoid drying out.
- Avoid adding meat, dairy, or oily foods to prevent odors.
- Add a mix of greens (nitrogen) and browns (carbon) for balanced compost.
- Harvest worm castings at least twice a year for optimal compost production.
Common Mistakes to Avoid
- Overfeeding your worms can lead to bad odors.
- Ignoring temperature; keep your bin between 55°F and 77°F for optimal worm health.
- Not monitoring moisture levels can result in worm death.
- Being impatient; it takes time for worms to convert waste into compost.
Final Thoughts
Getting started with worm composting doesn’t have to be intimidating. With beginner-friendly options like the bins we've discussed, plus a little knowledge and care, you'll be on your way to creating rich compost for your garden. Remember, worm composting is not just about reducing waste; it's about improving your gardening efforts and embracing sustainable practices.
Pros
- Environmentally friendly waste management method.
- Produces valuable compost for gardening.
- Simple setup and maintenance.
Cons
- Can take time to refine your technique.
- Requires regular monitoring.
- Some composters may have higher initial costs.
For more information on composting methods, check out our article on composting tips and explore different types of worm composting bins available in the market.


